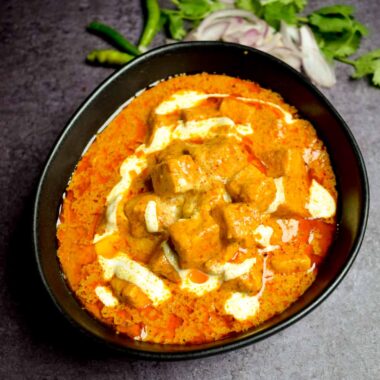
Mutton curry is a delicious Indian dish that can be made with either goat or lamb meat. The meat is braised in a spicy onion-tomato gravy in a clay pot and then simmered for perfection. In India, people prepare this recipe in various delectable ways based on their regional preferences.
Here, I’ll share an effortless way to make spicy, delicious mutton curry using basic ingredients. In this recipe, we will cook the meat in a pressure cooker. But I highly recommend using a clay pot or any pot with a heavy base made of cast iron. If you don’t have such utensils, you can also use any heavy Indian wok, which we generally refer to as Kadhai here in India. This results in a delicious, infused, succulent mutton curry. Finally, the whole thing will be slow-cooked to achieve a delightful, mouth-watering taste.
So, How Do You Make a Mutton Curry?
To make this dish, you’ll need some basic ingredients, like a mix of Indian spices and yogurt. This mixture will be added to the chunks of meat and simmered until the spicy flavors get deep into the curry.
Here we will be using a little mutton fat to increase the richness of the gravy, but if you don’t want to add it, that’s absolutely fine, too.
Now, let’s talk about “yogurt,” which is the primary and one of the most crucial ingredients in this recipe. First, it makes the meat tender; second, it gives the gravy a slightly sour taste. Next, you can add some extra veggies of your choice, which shall perfectly blend with the taste of the curry.
People in different areas cook this curry with potatoes, ash gourd, taro, or kochu (colocasia esculenta). Here we will not be using any kind of vegetables, though. However, Adding a handful of garlic cloves will further enhance its taste.
How Many Whistles for Mutton in Pressure Cooker?
This is probably the most common question I get asked, and the answer depends on the size and cut of your mutton. Here’s a quick reference that I’ve found works every single time in my kitchen:
| Mutton Type | Whistles | Heat Level | Approx. Time |
|---|---|---|---|
| Bone-in pieces (this recipe) | 10 whistles | Medium | 25-30 minutes |
| Boneless pieces | 7-8 whistles | Medium | 18-22 minutes |
| Small/tender cuts | 5-6 whistles | Medium-low | 15-18 minutes |
| Leg pieces (large) | 12-14 whistles | Medium | 35-40 minutes |
A few things to keep in mind — always cook on medium heat after the first whistle. High heat gives you faster whistles but the meat won’t cook evenly. And once you’re done, let the pressure release naturally. Don’t force open the lid. That resting time inside the cooker makes the mutton incredibly tender and lets the masala really soak into the meat.
Also, the age of the goat matters more than people think. Younger goat meat (usually sold as “baby goat” or “choti bakri” at Indian butcher shops) will need fewer whistles. The mutton you get from supermarkets tends to be from older animals and will need the full 10 whistles or sometimes even 12.
What To Serve With This Dish?
Serve it hot with plain paratha, rice pulao, butter naan, roti, or tandoori roti, alongside a salad.
Now, let’s begin preparing this recipe :

Mutton Curry In Pressure Cooker (Traditional Style)
Slow cooked mutton in an Indian spicy gravy
6
servings30
minutes1
hour2286
kcalIngredients
- For marination
1 kg mutton (with bones and fats)
2 medium sized onion (sliced)
4-5 slitted green chilies
1 tablespoon ginger-garlic paste
1 medium sized tomato (chopped)
2 teaspoon turmeric powder
3 teaspoon red chili powder
1 teaspoon Kashmiri red chili powder
2 teaspoon coriander powder
1 teaspoon roasted cumin powder
1/2 teaspoon Homemade Garam Masala
Salt to taste
1/4 cup yogurt
1/4 cup mustard oil
- For gravy
1/2 cup mustard oil
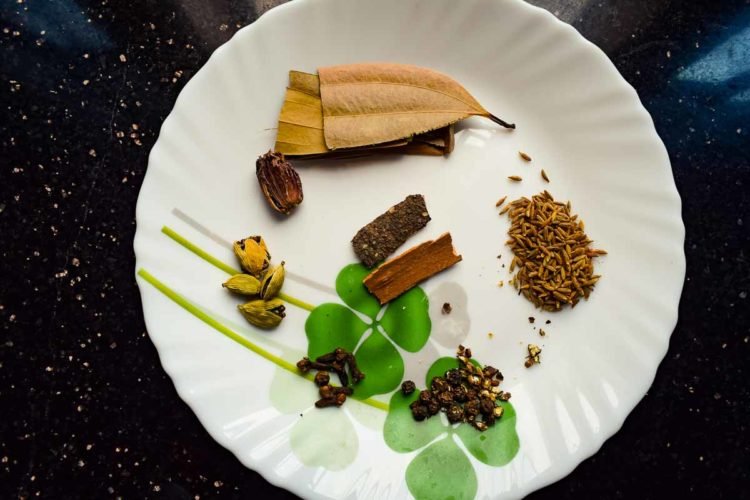
2 small sized bay leaves
2 inch cinnamon sticks
4 green cardamom (slightly crushed)
1/4 teaspoon black peppercorns (slightly crushed)
6 cloves
1 black cardamom (slightly crushed)
1/2 teaspoon cumin seeds
1 medium sized onion (sliced)
1/2 tablespoon ginger-garlic paste
1/2 teaspoon meat masala
Coriander leaves for garnish
Directions
- For marination:
Wash the mutton pieces under running water. Drain entirely with the help of a colander. Let it sit for around 5-10 minutes.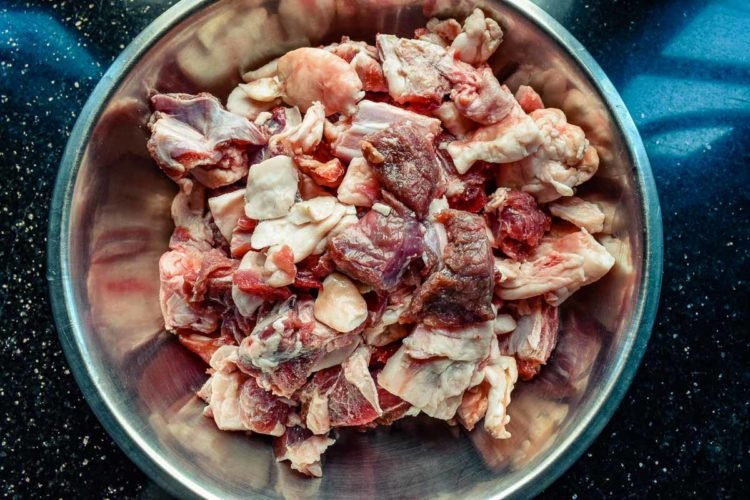
Meanwhile, let’s prepare the spice mixture along with whole spices.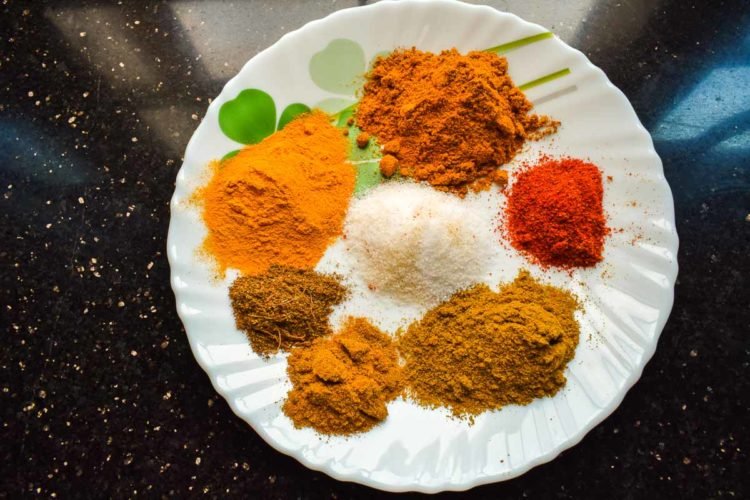
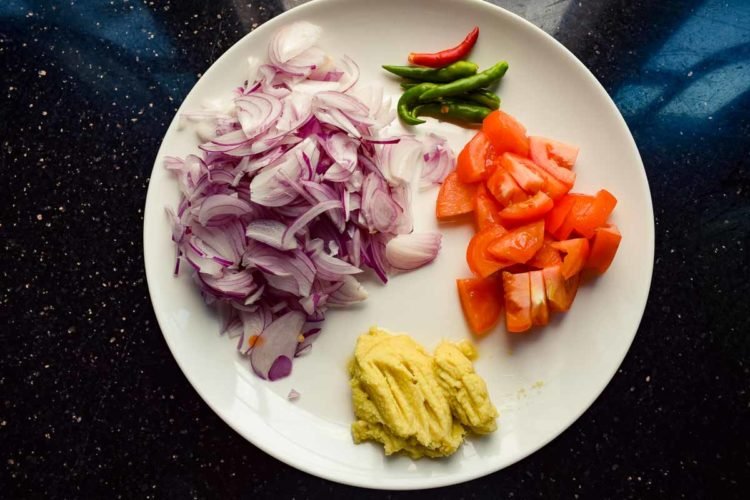
To a mixing bowl, add strained mutton pieces. Next, add sliced onion, ginger garlic paste, some slitted green chilies, and chopped tomatoes.
Then, add all the powdered spices such as turmeric powder, red chili powder, Kashmiri red chili powder, coriander powder, roasted cumin powder, salt to taste and some Homemade Garam Masala.
Mix well all the ingredients together.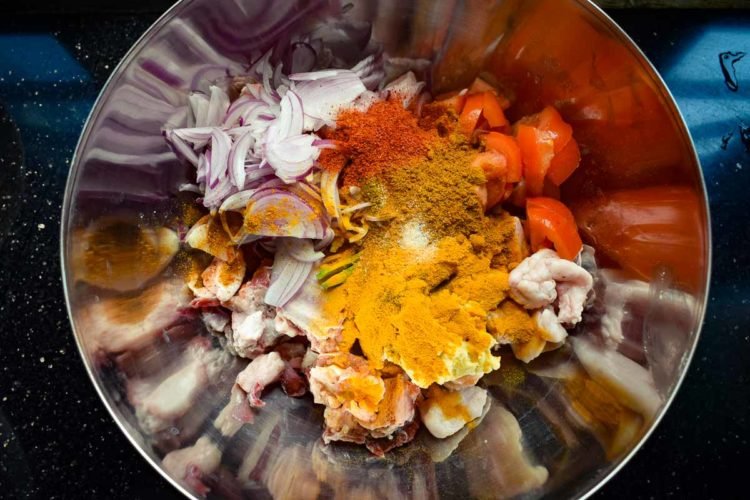
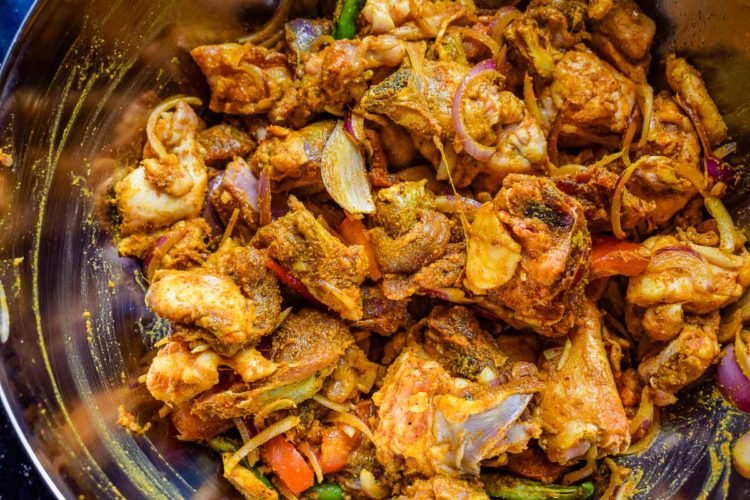
Add some mustard oil (recommended) and yogurt. Give the mixture a good massage so that the flavors are infused in the whole marination.
Let it sit for 1-2 hours so that the ingredients are well combined with every piece of mutton.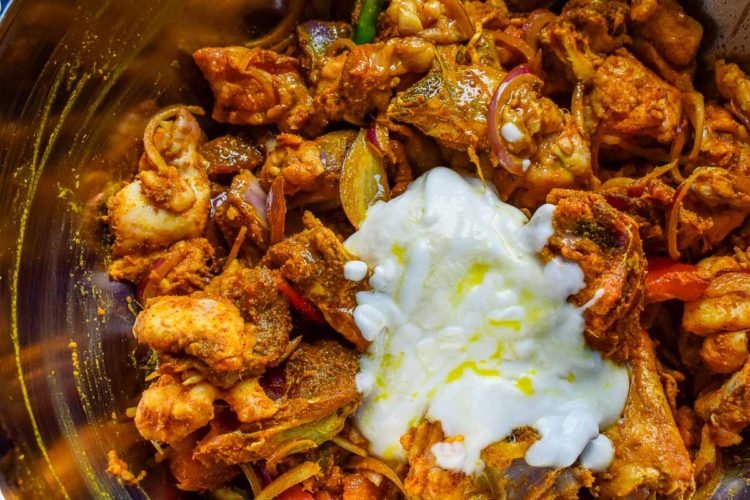
Tip: Here, I’ll start preparing the dish almost immediately. But if time’s not a problem, you can marinate the whole thing for at least 1-2 hours or overnight for the best results. - Making gravy or sauce:
Heat a pressure cooker at medium-high heat.
Add mustard oil. Let it heat for a while.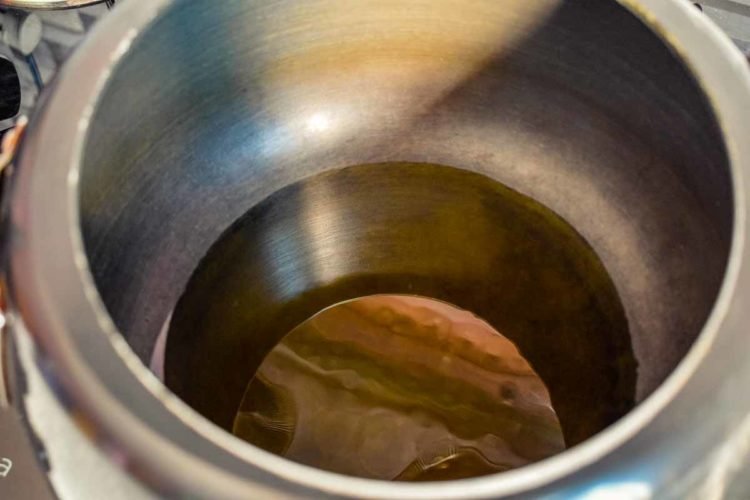
Once it’s heated, add Green Cardamom, Black Cardamom, cloves, cinnamon stick, bay leaves, black peppercorns, and cumin seeds.
Sauté for a minute.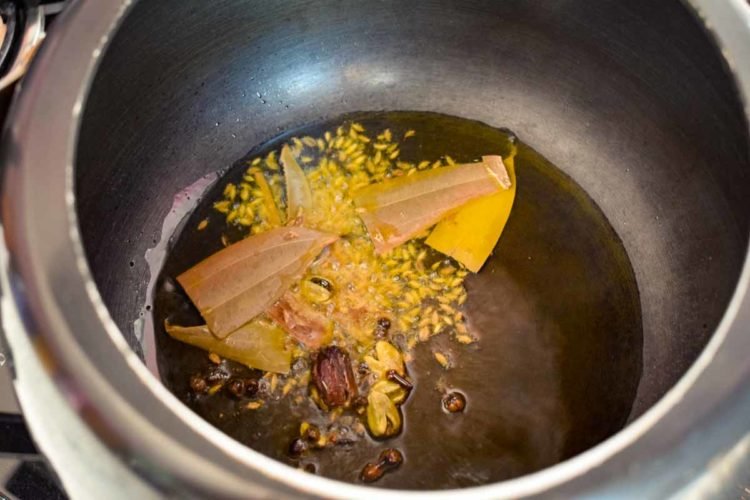
Then, add some sliced onion. Sauté it till slightly brown.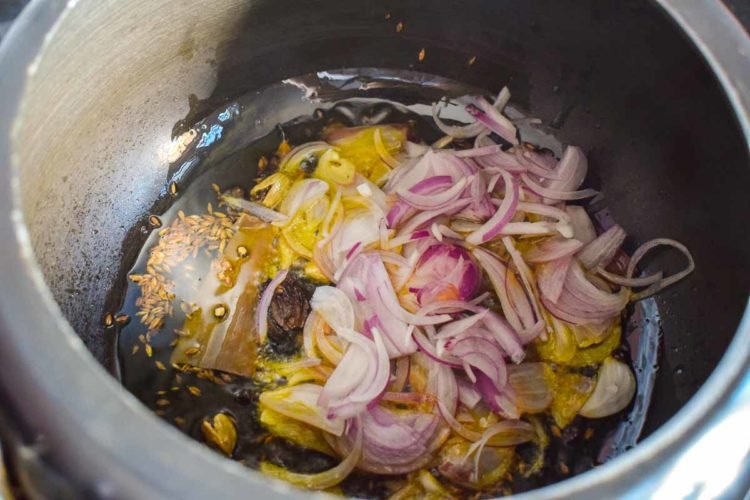
Now, add some ginger-garlic paste.
Fry until the raw smell disappears.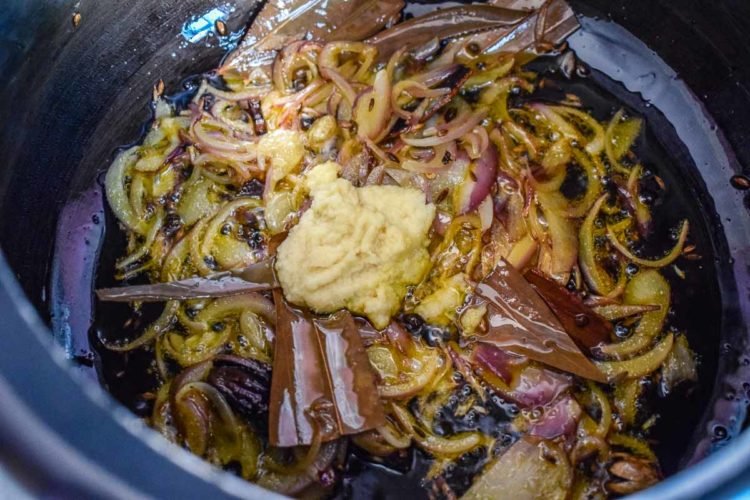
Reduce the flame to low heat and add the marinated mutton.
Stir well the mixture and let it cook for some time until moisture is released.
Cover and cook for 10-12 minutes at low heat. Keep stirring occasionally.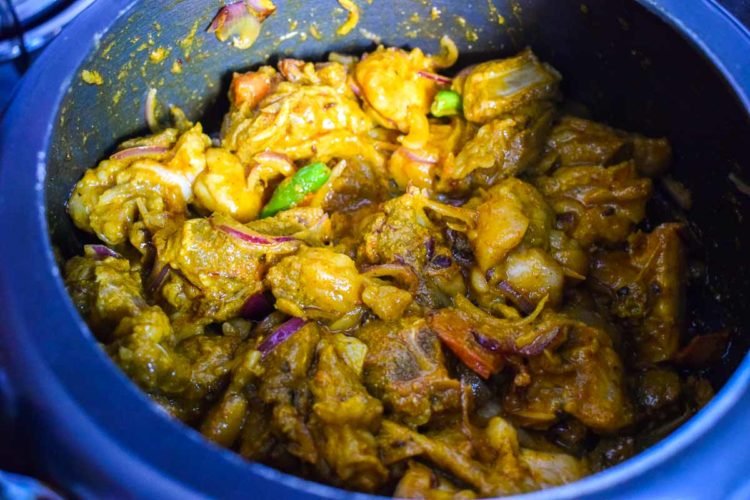
After around 12 minutes, check the gravy. Give it a nice stir.
We must fry the whole thing until the oil separates from the gravy.
Tip: If the gravy gets too thick and tends to dry up, scrap the bottom occasionally. If this occurs, add a little water to it.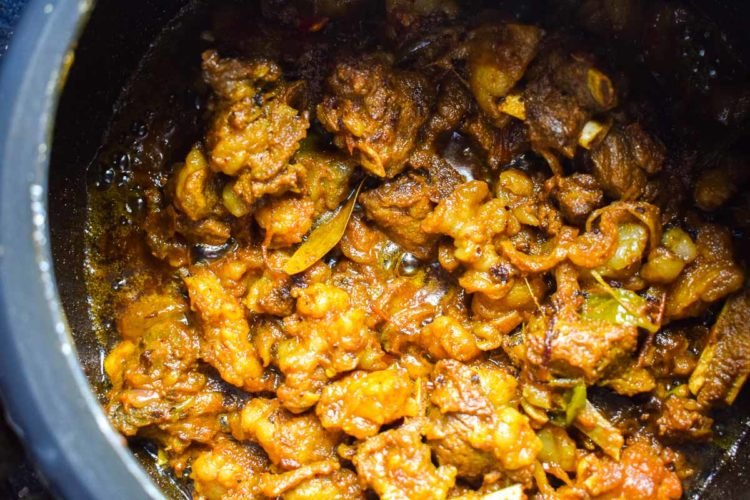
Sprinkle some meat masala into the gravy. Mix everything well.
Pour some water around 1/2 cup or according to the consistency of the gravy.
Put the lid on. Let it cook for around 10 whistles.
Tip: Meat with bones takes additional cooking time. If you use boneless pieces, 7 to 8 whistles will do just fine.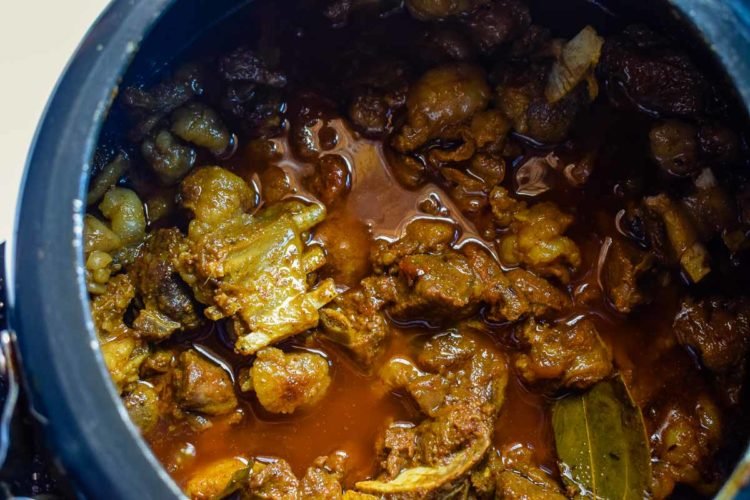
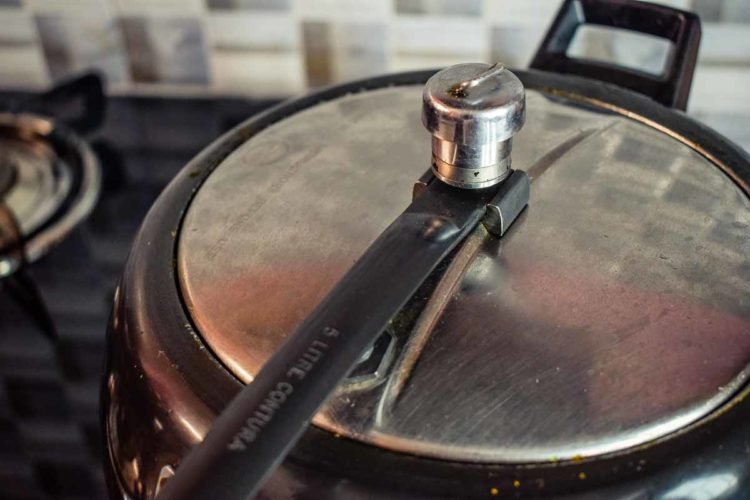
After around 10 whistles, switch off the flame and let the pressure be released from the cooker.
Open the lid. Give it a nice stir and check the consistency of the gravy.
(If it’s too soupy, switch on the flame at medium-high heat. Allow it to simmer for a minute or two or until it becomes thick.
But If your gravy is already too thick, adjust the consistency of it by adding a little more water. Let it simmer for a couple of minutes at low heat.)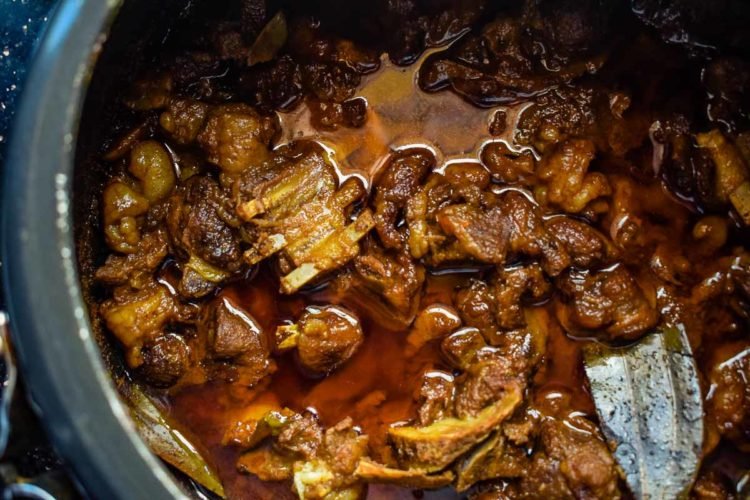
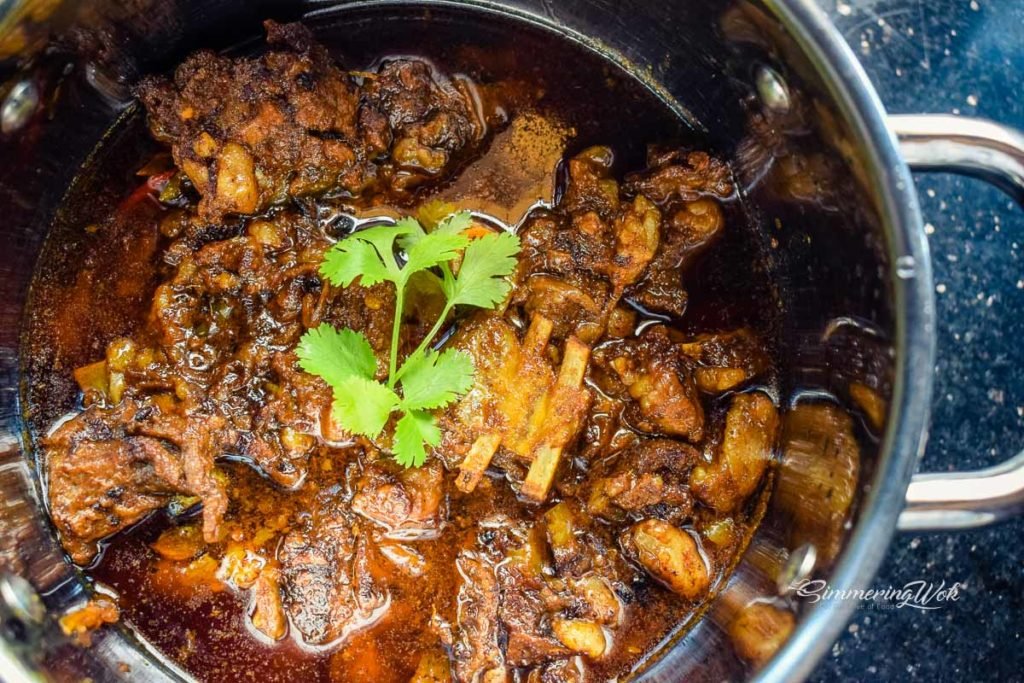
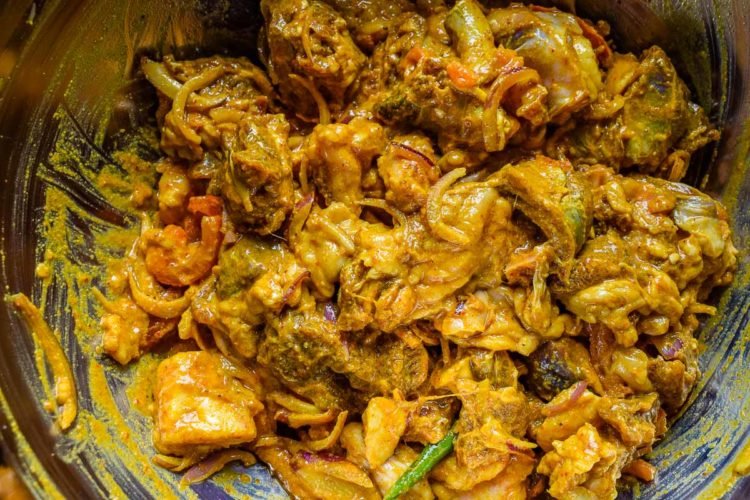
Switch off the flame, and dish out to a serving pot or bowl.
Garnish with lemon wedges, onion rings, and a sprig of coriander leaf. You can also use any salad of your choice.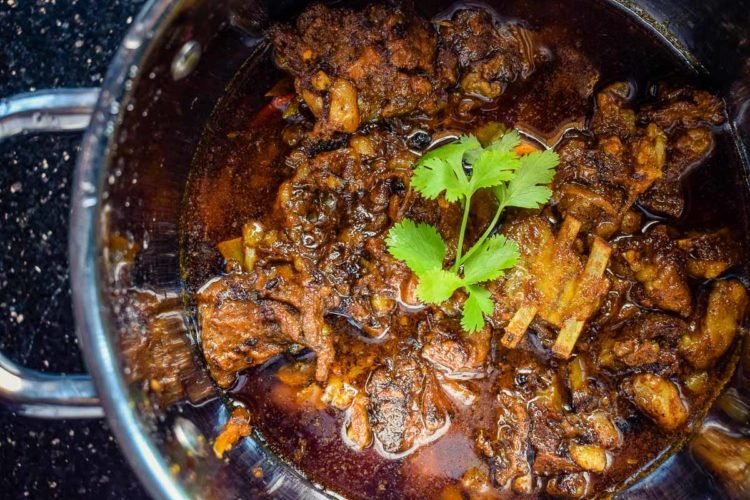
Serve hot with plain paratha, butter naan, plain rice, rice pulao, or tandoori roti. Here I have used plain rice for this purpose.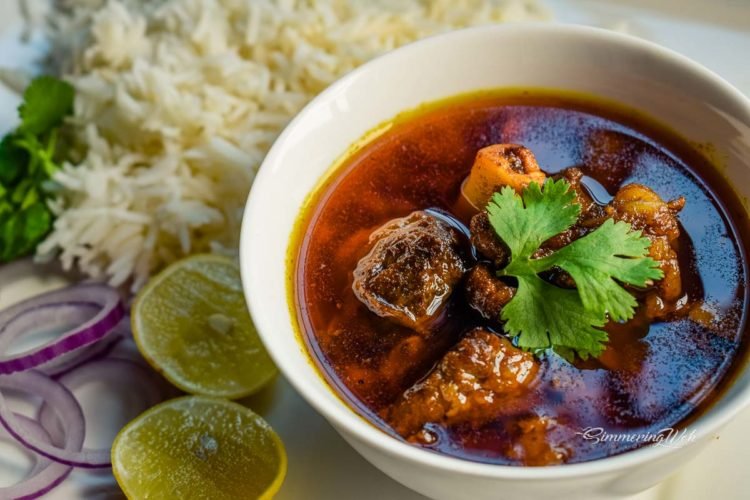
And that’s it!
Your delicious traditional style mutton curry is ready to be served!
Enjoy!
Notes
- Don’t skip the yogurt, as it is a natural meat tenderizer.
- Choose freshly cut bone-in meat with little fat for the best results. It makes the gravy rich, thick in texture and tastes yum!
- Mutton thighs are preferred as they are the meat’s most tender and tastiest portion.
Nutrition Facts
6 servings per container
Serving Size1509
- Amount Per ServingCalories2286
- % Daily Value *
- Total Fat
168g
216%
- Saturated Fat 54g 270%
- Trans Fat 1.2g
- Cholesterol 543mg 181%
- Sodium 456mg 20%
- Total Carbohydrate
48g
18%
- Dietary Fiber 9.6g 33%
- Total Sugars 13.2g
- Protein 144g 288%
- Calcium 20.1mg 2%
- Iron 99mg 550%
- Potassium 2703mg 58%
- Vitamin A 66mcg 8%
- Vitamin C 51mg 57%
* The % Daily Value tells you how much a nutrient in a serving of food contributes to a daily diet. 2,000 calories a day is used for general nutrition advice.
Common Questions About Cooking Mutton in Pressure Cooker
How many whistles does mutton need in a pressure cooker?
For bone-in mutton pieces (which is what most Indian recipes use), you need around 10 whistles on medium heat. If you’re using boneless mutton, 7 to 8 whistles will do. The key is to always cook on medium flame — not high. High heat whistles are faster but the meat won’t cook through properly, and you’ll end up with tough, chewy pieces.
What is the cooking time for mutton in a pressure cooker?
On medium heat, bone-in mutton takes about 25 to 30 minutes in a standard Indian pressure cooker (around 10 whistles). Boneless mutton cooks faster — roughly 18 to 22 minutes. After the whistles are done, always let the steam release on its own. That extra 5-10 minutes of natural pressure release makes a noticeable difference in how tender the meat turns out.
How to make mutton soft in a pressure cooker?
Three things make the biggest difference: marination, yogurt, and patience. Marinating the mutton for at least 1 to 2 hours (overnight if you can manage it) breaks down the fibers. Yogurt is a natural tenderizer and does most of the heavy lifting. And after pressure cooking, let the cooker sit for a good 10 minutes before opening — the meat continues to soften as the pressure drops gradually. If your mutton still feels tough after 10 whistles, close the lid and give it 3 to 4 more whistles.
Can I use an Instant Pot instead of a traditional pressure cooker?
Yes, absolutely. Set your Instant Pot to Meat/Stew mode and pressure cook for 20 minutes on high pressure with natural release. The results are very similar to a stovetop pressure cooker. The only difference is you won’t hear whistles — just set the timer and let it do its thing.

)
Looks absolutely amazing and tastes even better! Loved the mutton recipe, definitely going to try this.
Thank you so much for your lovely feedback! 😊 We’re thrilled to hear you enjoyed the mutton recipe , it’s one of our favorites too! Can’t wait for you to try it out at home. Don’t forget to share how it turns out 💕